|
2001 walks |
2002
walks |
2003 walks |
2004
walks |
|
2005 walks |
2006
walks |
2007 walks |
2008
walks |
|
2009 walks |
2010
walks |
2011 walks |
2012 walks |
|
2013 walks |
2014 walks |
2015 walks |
2016 walks |
|
2017 walks |
2018 walks |
2019 walks |
2020 walks |
|
2021 walks |
1993-2000 library |
Find a Route Index |
|
A few Routes to print out |
Request a Route... |
Route No. 719 - Wednesday 2 May 2018
Canal Foot, R. Leven estuary, Plumpton Hall,
Next Ness, Hoad Hill, Parish Church,
Ulverston Canal circuit - 8km
Ulverston, Morecambe Bay . . .
Route map from Ordnance Survey
Open Space service.
Map: OS Explorer OL7 The English Lakes, South Eastern Area
Note: There is a shorter version of this walk omitting the climb up Hoad Hill at Route No.699
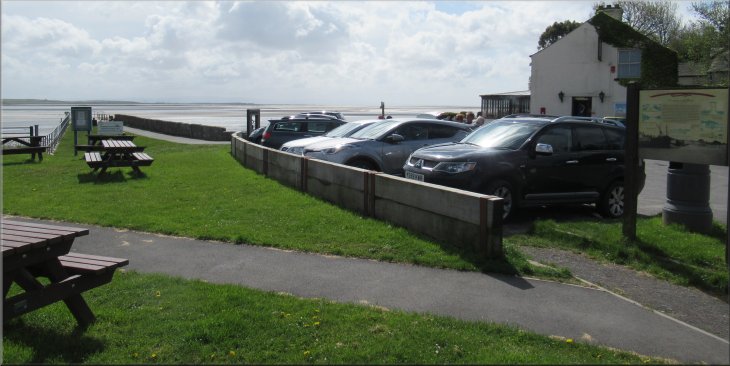
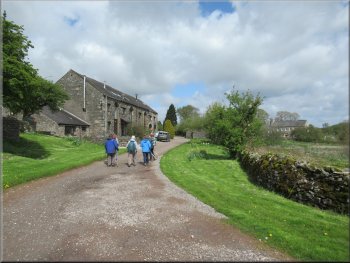
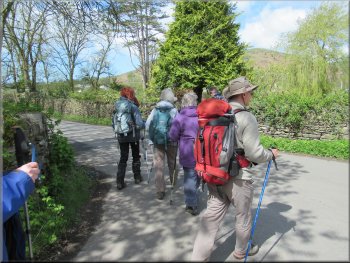
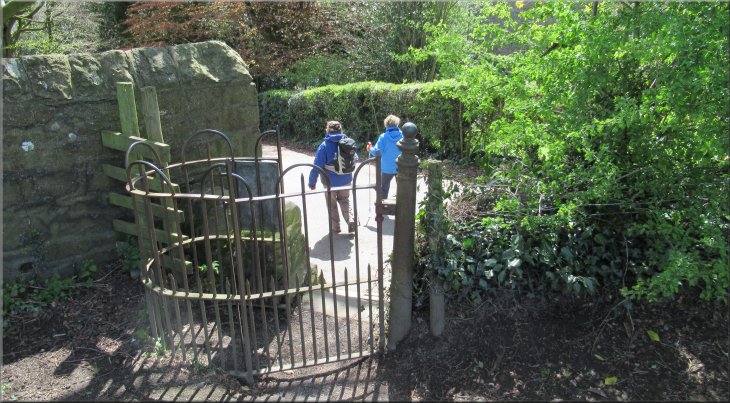
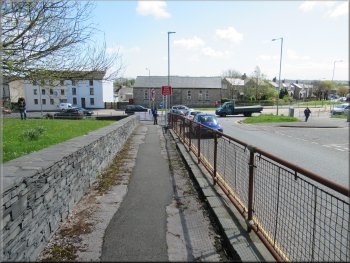
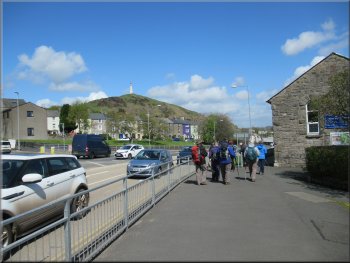
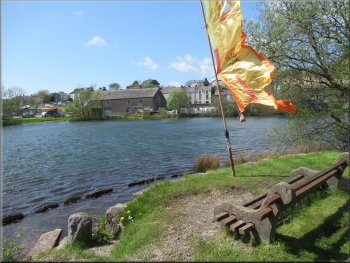
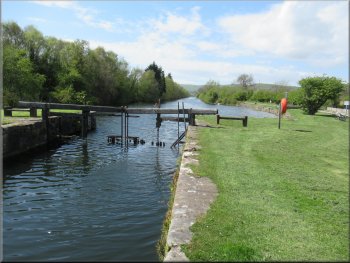
Car park at Canal Foot, Ulverston where we started our walk
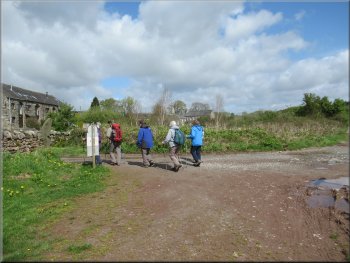
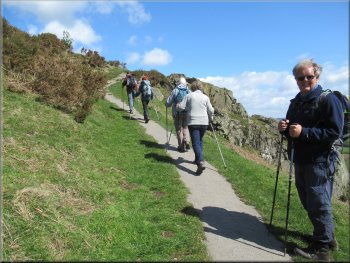
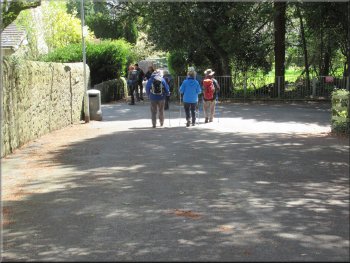
We are staying with a group of friends in a very grand 'Holiday Cottage' on the edge of Windermere town below the view point at Orrest Head for a few days this week. We all meet for a walk together once a month and every year we have a few days together in a comfortable cottage and a few nice walks. Each of our three walks this week is led by a different member of our group. |
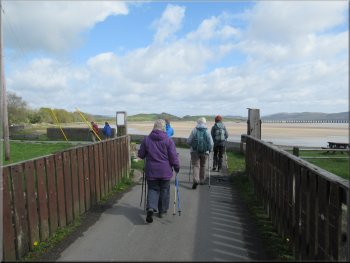
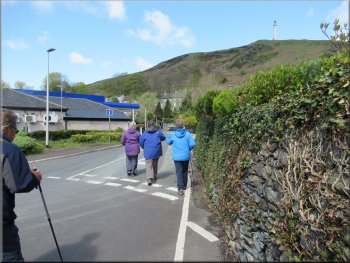
Setting off across the canal bridge at Canal Foot
Joining the footpath along the shore
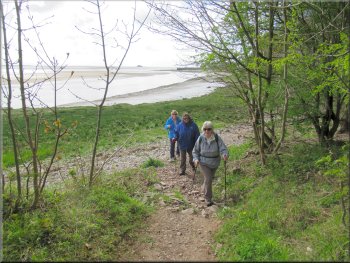
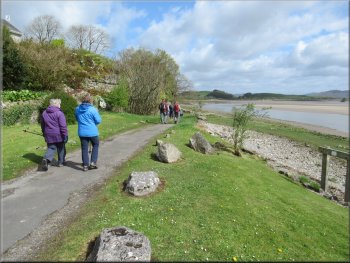
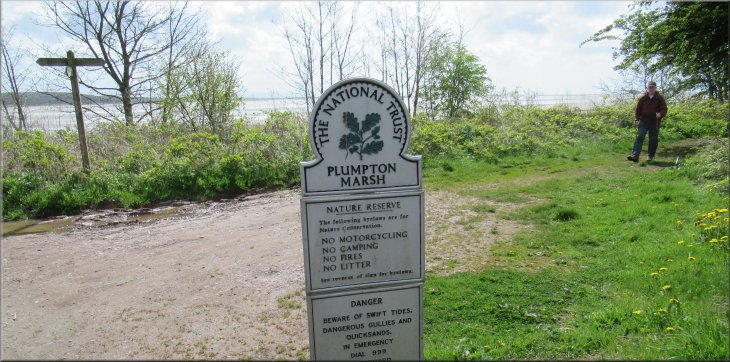
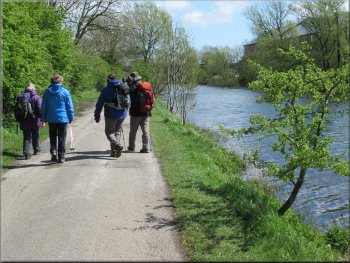
Path at Plumpton Marsh, a National Trust site
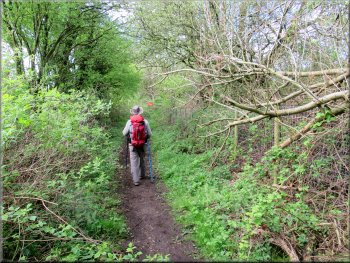
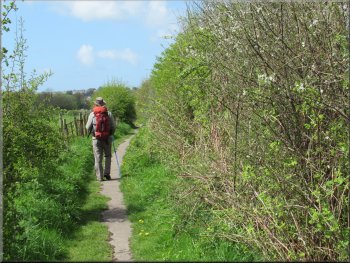
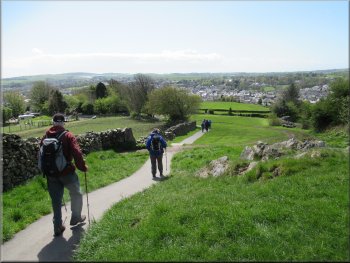
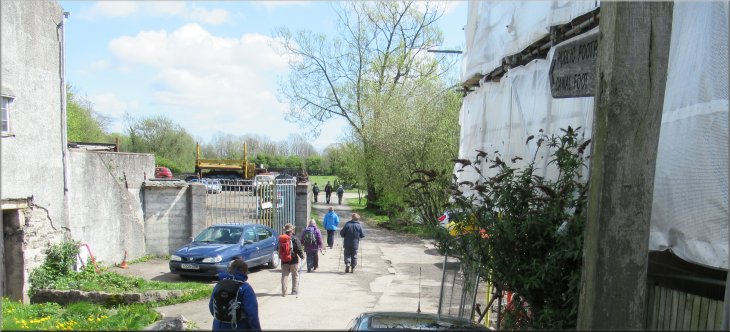
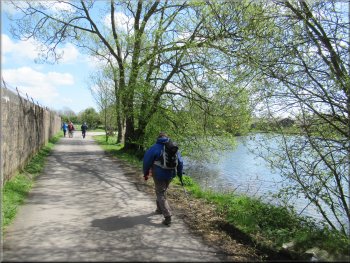
We set off northwards over the bridge across the canal and followed the access road between the row of houses at Canal Foot and the shore. We turned right off the road to follow the public footpath along the shore. After a few hundred metres, the path kept to the back of the shore through the trees and bushes in National Trust land called Plumpton Marsh. |
Today we drove to Ulverston on the River Leven estuary, an arm of Morecambe Bay. There is a disused canal from the centre of Ulverston out to Morecambe Bay and we parked at the Canal Foot, next to the lock at the seaward end of the canal, map ref. SD 313 776.
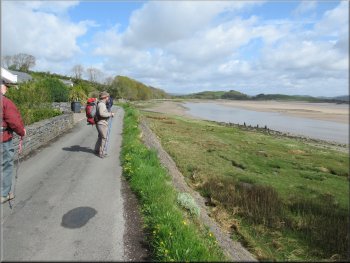
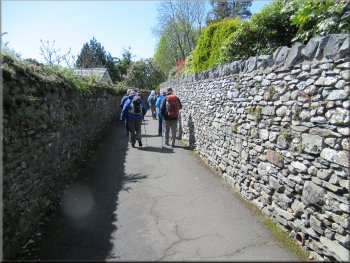
Road between the houses & the shore at Canal Foot
The shore of the River Leven estuary
Path at Plumpton Marsh, a National Trust site
|
Looking back along the path at Plumpton Marsh, a National Trust site
|
Turning away from the shore at Plumpton Hall
About to turn left over the stile at the finger post
Crossing the top of the hill
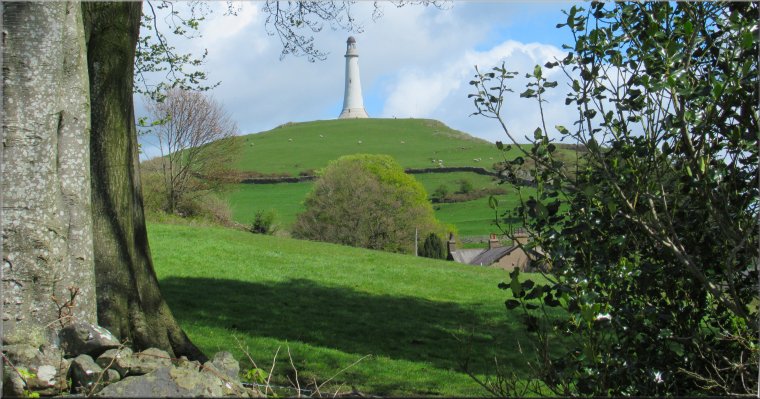
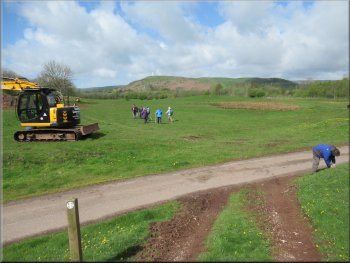
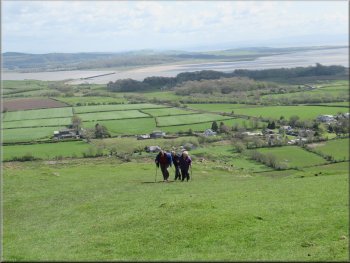
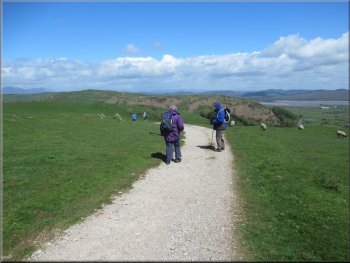
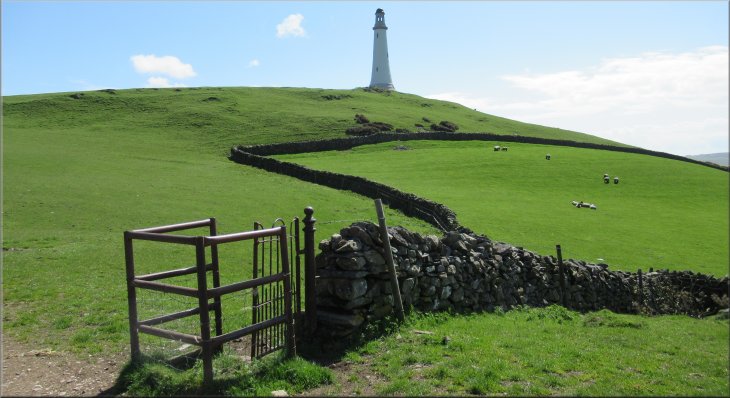
From the hill top the path continues straight down the other side of the hill to cross a track at the bottom of the slope. From here we could see the tall monument on top of Hoad Hill. There was still no clear path on the ground, but as luck would have it the direction of the path was a little to the left of the monument so we had a good landmark to aim for. As we made our way across the field the path gradually became evident on the ground as we approached the disused railway track to our right. |
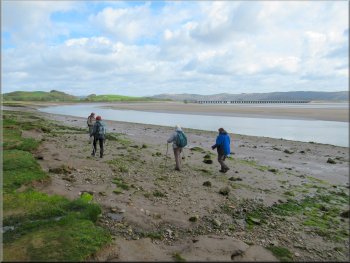
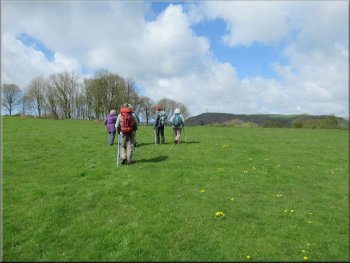
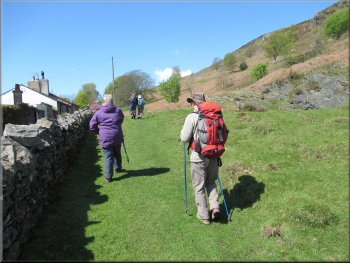
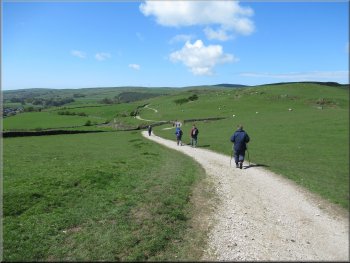
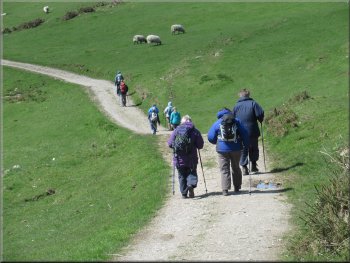
After about 600m along the shore we turned left away from the shore to follow the path in front of Plumpton Hall. We continued along the road from Plumpton Hall for about 200m and there turned left over a stile to follow a path in the field. There is no clear path on the ground but the route of the path is straight up the slope to some trees on top of the little hill.
Passing Plumpton Hall
Heading directly up the slope to the trees
We aimed left of the Hoad Hill monument crossing this field
|

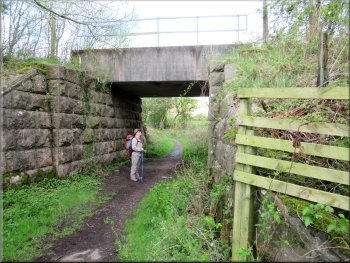
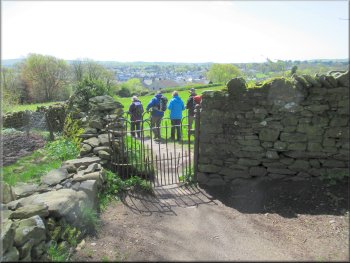
Gate & stile to the fenced track leading beside the disused railway to Next Ness
|
Joining the track to Next Ness
Bridge under the disused railway
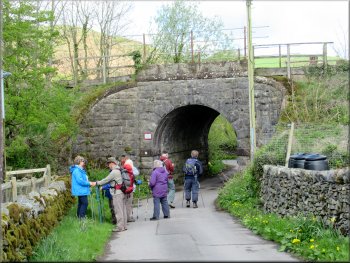
Bridge under the active railway in Next Ness
Then it began to bend round to the right as it passed between the cluster of houses at Next Ness. We came to another railway bridge, this time it was the active railway line through Ulverston. We passed under the railway and at the road next to the railway we turned left and walked along the road towards Ulverston. |
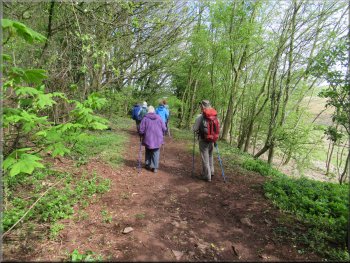
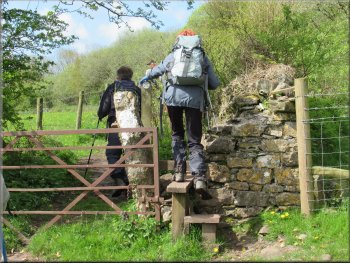
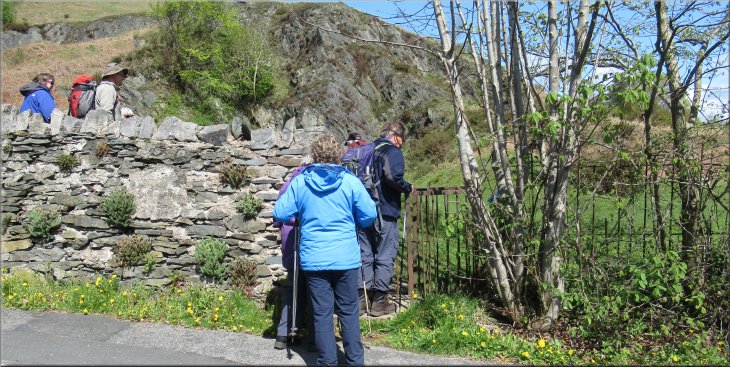
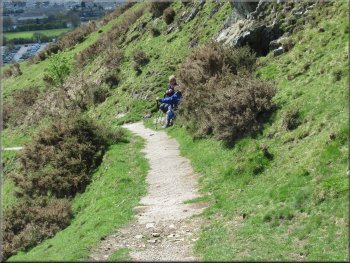
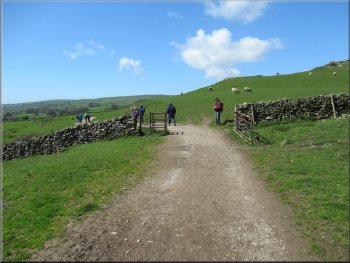
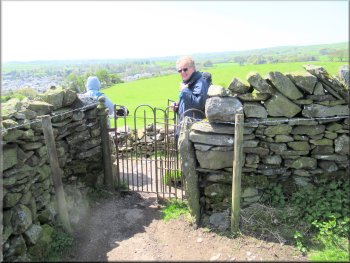
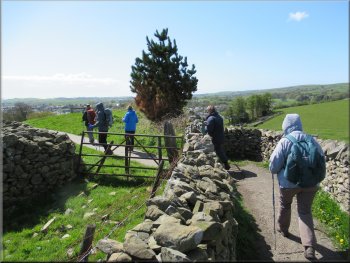
The path led us to an old iron gate with a stile next to it. We crossed the stile into a fenced track next to the disused railway. We followed this track for almost 200m and here we turned right to follow the track under the disused railway. Through the bridge the track turned left.
Following the track to Next Ness
Track bending right to Next Ness
Turning left on to the road from Next Ness
|
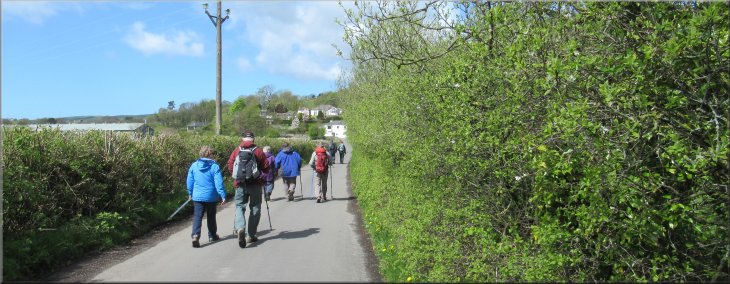
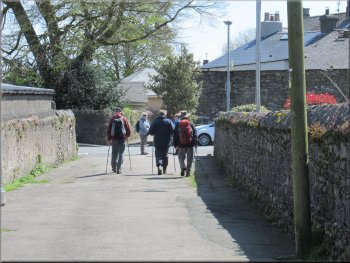
Following the road towards Ulverston
|
Passing the houses on our right at Oubis Hill
The A590 heading northwards out of Ulverston
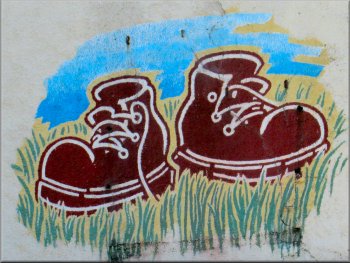
We passed a mural of a pair of walking boots on the gable end of a house opposite. After about 200m we came to a turning on our left called Hoad Lane. We turned left into Hoad Lane and immediately on our right there was an iron gate into the field at the base of Hoad Hill. |
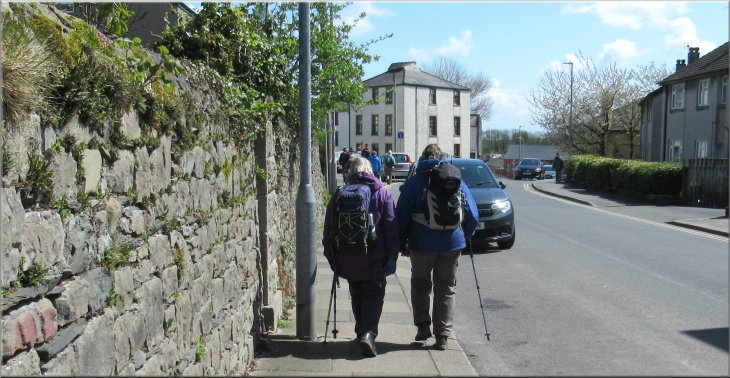
We followed the road for about 700m to the main road through Ulverston, the A590, at map ref. SD 295 787. The main road was very busy so we turned left for a few metres to cross where there was a pedestrian refuge. Once across the road we turned right and walked along the footway.
The road to the A590 in Ulverston
Walkers are Welcome in Ulverston
|
Turning right off Hoad Lane at the base of Hoad Hill
|
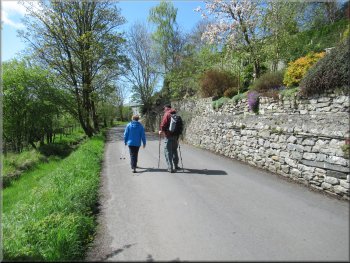
Following the wall next to Hoad Lane
Following the path up Hoad Hill
Taking a breather on one of the seats by the path
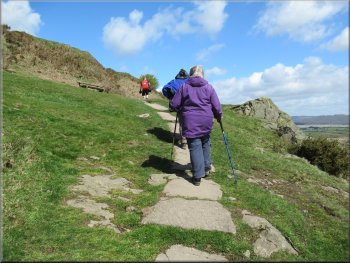
We continued climbing up the surfaced path, steep in places, for another 250m. Here the path bent round to our left making another zig-zag near the top of the hill. Finally the path turned right for the last push up to the monument itself. |
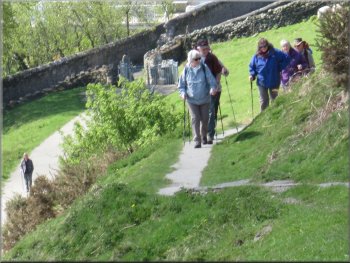
We went through the gate and turned left to follow the wall between the field and Hoad Lane up the slope for about 250m to a second gate from Hoad Lane into the field. Here we turned right away from the gate following the path from the gate climbing up Hoad Hill.
Zig-zag path up Hoad Hill from Hoad Lane
Following the path up Hoad Hill
The last push up to the monument
|
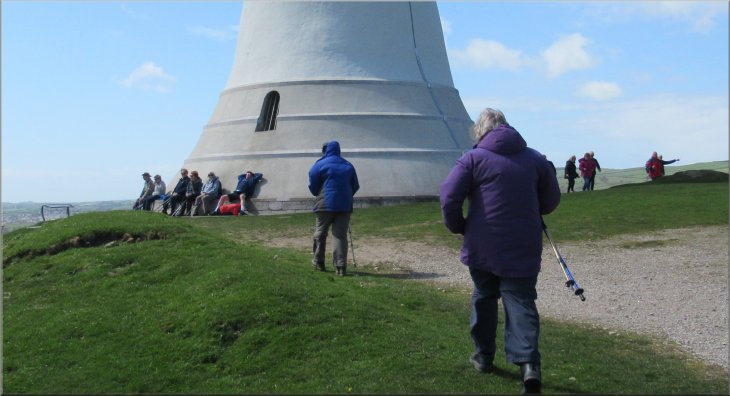
The less windy side of the monument for our lunch
|
|
Starting our descent from the monument
Path around the north side of Hoad Hill
After out lunch break we set off along the wide stony track heading northwards from the monument and then bending round to our left to head westwards. |
The base of the monument is at a height of 133m above sea level. The monument on Hoad Hill is to Sir John Barrow and details of it can be found on Wikipedia and elsewhere. There was a strong, cold, westerly wind blowing across the top of the hill. There is a convenient seat-height step around the base of the monument and we sat on the sheltered side (well the least windy side) of the monument for our lunch break. In the summer the monument is open to the public with amazing views all round from the top.
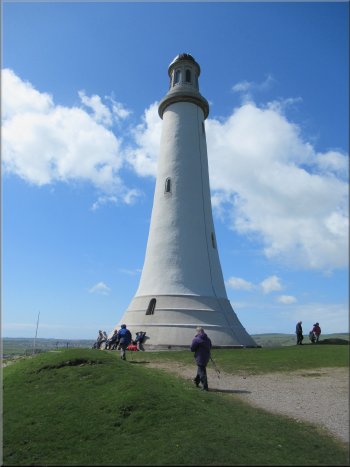
The impressive monument to Sir John Barrow
|
Looking back to the monument on Hoad Hill from the track on the north side of the hill on our way down
|
Track heading down from Hoad Hill
We turned left off the track to this walled path
Following the path down to Ulverston
We continued down this walled & fenced path through more similar iron gates to an iron kissing gate on to a walled lane at the edge of the town. |
We had a good look back to the tower before continuing our descent towards the town. About 600m from the tower we turned left off the track through an iron gate to a walled path down the hillside.
Track heading down from Hoad Hill
Walled path heading down from Hoad Hill
Following the path down to Ulverston
|
Iron kissing gate to a walled track into Ulverston
|
Walled track leading to the Parish Church
Path through the churchyard
Path out of the bottom corner of the churchyard
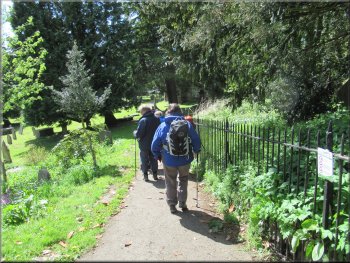
Just beyond the church we turned sharp left back across the churchyard to the bottom corner to another lane, called Spout Lane, that leads into the streets and the B5281. |
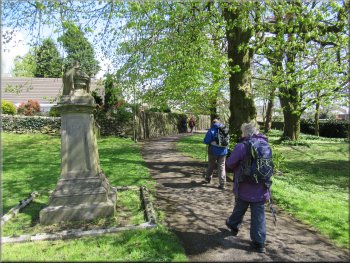
We walked along the walled lane for about 100m and there turned right and followed the lane into the churchyard at the Parish Church. We followed the path through the churchyard, past the church
Walled track leading to the Parish Church
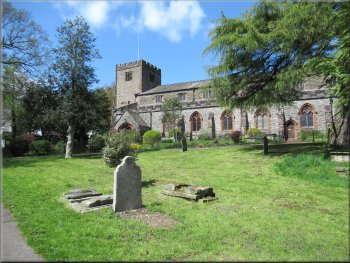
The parish church in Ulverston
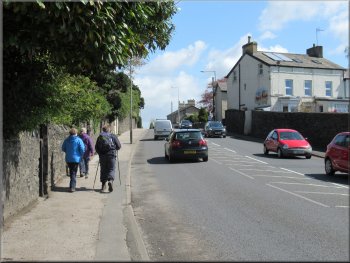
Alleyway down to the B5281
|
Walking along the B5281 towards Quay Street (A590)
|
B5281 heading down to the junction with Quay Street (A590)
Traffic light controlled pedestrian crossing
Crossing the end of North Lonsdale Terrace
We crossed the end of North Lonsdale Terrace and continued along Canal Street (the continuation of the A590). About 150m from the end of North Lonsdale Terrace we turned right off Canal Street (A590) down a lane to the canal head. |
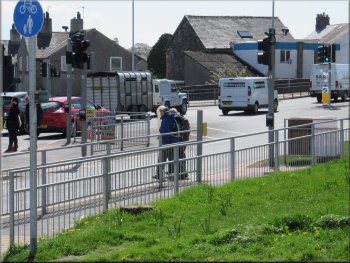
We walked along the footway by the B5281 to its junction with Quay Street, the A590 dual carriageway. This is a very busy intersection and we crossed at the pedestrian crossing controlled by traffic lights. When we were all safely across Quay Street we turned left to walk along Quay Street.
Making our way across the intersection
Walking along Quay Street

Walking along Canal Street (A590)
|
We turned off Canal Street (A590) to head down to the Canal Head
|
Path around the Canal Head
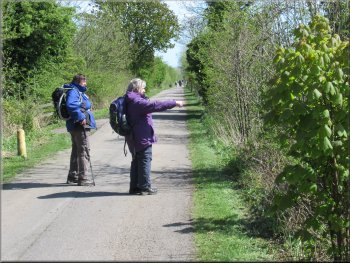
Following the canal side path
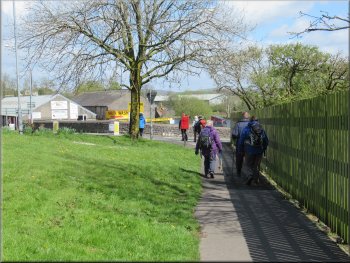
On the far side of the canal there is much industry providing jobs for the people of Ulverston but it does not seem to me to intrude on to the rural peace of the canal side path. About 300m from the canal head we passed under the railway coming into Ulverston and continued along the canalside path. |
The lane continues as the tow path alongside the Ulverston Canal. Suddenly from the busy traffic of the town we were in a very pretty setting by the canal with all the trees coming into leaf and wild flowers along the margins of the canal.
Looking across the Canal Head
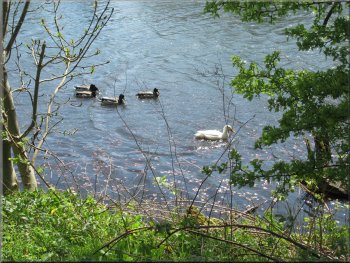
Ducks on the canal
|
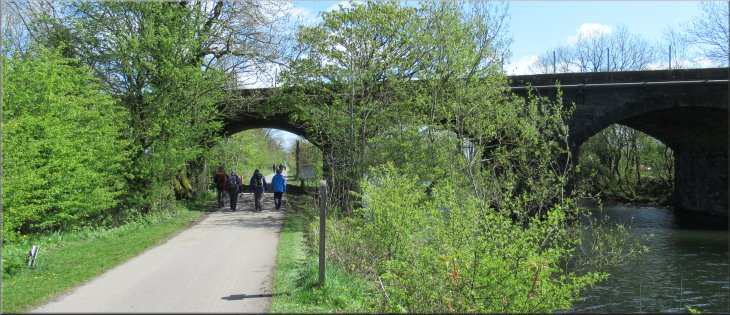
Railway viaduct across the canal
|
Look a swan's nest . . .
The Rolling Bridge on the former Bardsea Branch Line
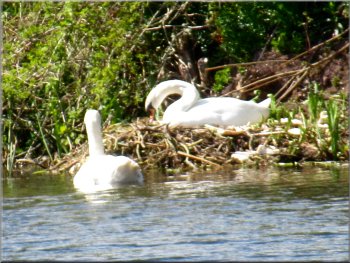
Swans nesting near the Canal Foot
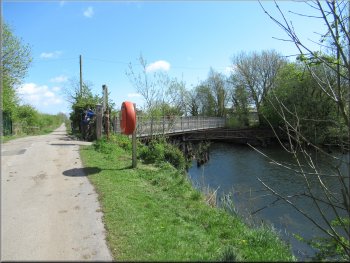
Here we came to the bridge over the canal at the lock at the seaward end of the canal. We turned right to cross the canal on the bridge and returned to the little car park at the Canal Foot and the end of our walk. The whole route had been 8.5km and including our lunch break at the monument it had taken us around three hours to walk. |
About 800m from the active railway bridge we came to the disused branch of the railway and its bridge over the canal. This is the 'Rolling Bridge on the former Bardsea Branch Line'. From this fascinating railway structure we continued along the canalside path for another 1km.
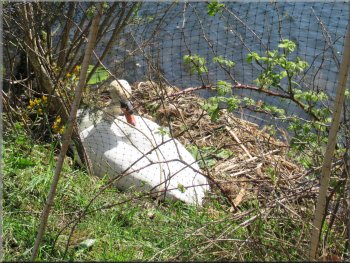
. . . a swan's nest next to the path
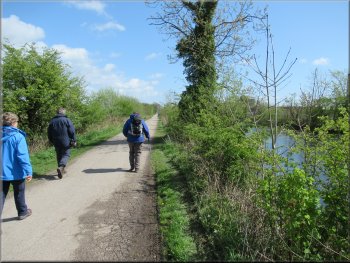
Canal side path leading to the Canal Foot
Looking back along the canal from the lock at the Canal Foot
|
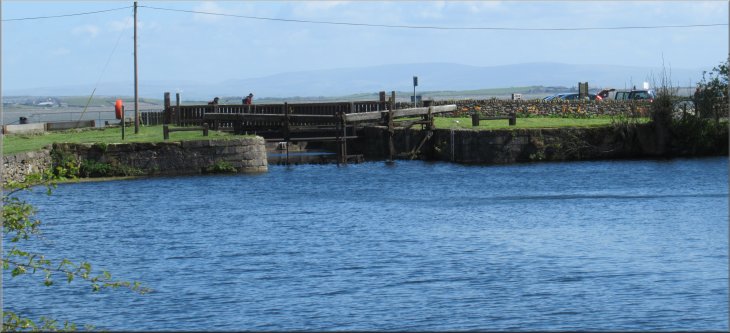
Crossing the bridge at the Canal Foot to return to the car park at the end of our walk
|